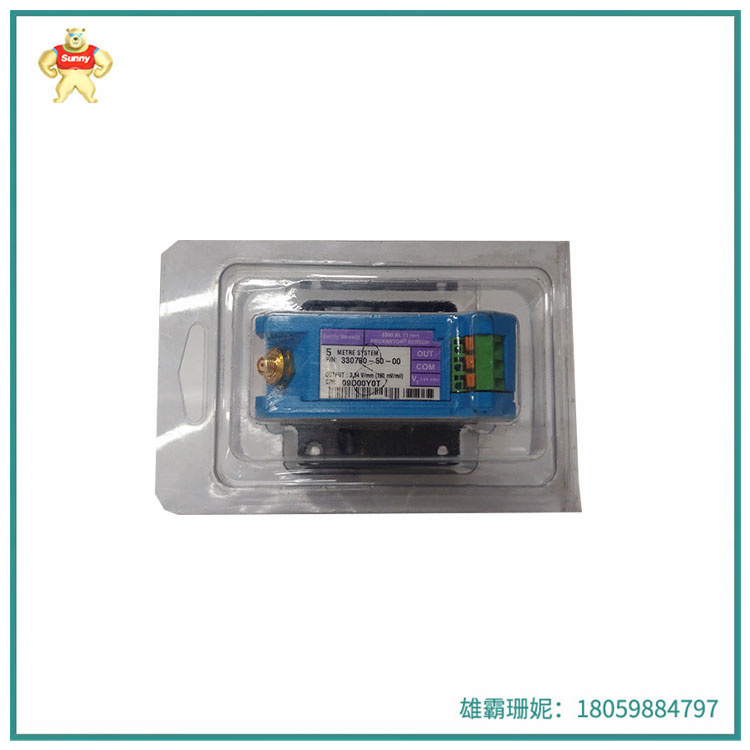
330780-50-00前置器是一个电子信号处理器,主要具有以下功能:
对接收到的信号进行处理,生成随探头端面与被测金属导体间距线性变化的电压或电流信号。
在特定的系统中,例如选用25探头前置器,其工作温度范围为-30℃至100℃,温漂系数不大于0.05%/℃。330780-50-00输出方式采用限幅±10V输出,供电电压为±15Vdc至18Vdc。对于经校准的探头及延伸电缆,互换同型号的前置器带来的误差不超过±5%。此外,电源每变化1V,输出变化不超过±0.02%。其输出阻抗不大于102,最大输出电流为50mA,而前置器消耗电流不大于12mA。灵敏度误差在±7.5%以内。
型号:330780-50-00
330780-50-00前置器是一个电子信号处理器,主要具有以下功能:
为探头线圈提供高频交流电流。
对接收到的信号进行处理,生成随探头端面与被测金属导体间距线性变化的电压或电流信号。
在特定的系统中,例如选用25探头前置器,其工作温度范围为-30℃至100℃,温漂系数不大于0.05%/℃。330780-50-00输出方式采用限幅±10V输出,供电电压为±15Vdc至18Vdc。对于经校准的探头及延伸电缆,互换同型号的前置器带来的误差不超过±5%。此外,电源每变化1V,输出变化不超过±0.02%。其输出阻抗不大于102,最大输出电流为50mA,而前置器消耗电流不大于12mA。灵敏度误差在±7.5%以内。
灵敏度误差在±7.5%以内这个数值的得出,通常是通过实验和测试来验证的。在传感器的生产过程中,制造商会进行一系列的校准和测试,以确保每个传感器的性能符合其规格要求。
校准过程:330780-50-00制造商会使用标准的测量设备和方法,对传感器的灵敏度进行校准。这通常涉及在不同的条件下测量传感器的输出,例如在不同的温度、压力和位移下。
误差计算:校准过程中,制造商会记录每个传感器的实际输出值,并与理论值进行比较。然后,他们会计算这两个值之间的差异,即误差。这个误差会以百分比的形式表示,以便更容易地比较不同传感器的性能。
统计和规格:制造商会收集大量传感器的校准数据,并进行统计分析。基于这些数据,他们会确定灵敏度的最大和最小误差范围。在这个例子中,灵敏度误差被确定为±7.5%,这意味着在正常的使用条件下,传感器的灵敏度值可能会比其标称值高或低7.5%。
质量控制:最后,制造商会实施质量控制措施,以确保只有符合规格要求的传感器才会被出厂销售。这可能包括重新校准不符合要求的传感器,或者在

Model: 330780-50-00
The 330780-50-00 preprocessor is an electronic signal processor with the following functions:
High frequency AC current is provided to the probe coil.
The received signal is processed to generate a voltage or current signal that varies linearly with the distance between the probe end face and the measured metal conductor.
In a specific system, such as the selection of 25 probe precursors, the operating temperature range is -30℃ to 100℃, and the temperature drift coefficient is not greater than 0.05%/℃. 330780-50-00 The output mode uses clipped ±10V output, and the supply voltage ranges from ±15Vdc to 18Vdc. For calibrated probes and extension cables, the error of exchanging precursors of the same model should not exceed ±5%. In addition, for every 1V change in the power supply, the output change does not exceed ±0.02%. Its output impedance is not greater than 102, the maximum output current is 50mA, and the preprocessor consumption current is not greater than 12mA. The sensitivity error is within ±7.5%.
The sensitivity error is within ±7.5%, which is usually verified by experiments and tests. During the production process of the sensor, the manufacturer performs a series of calibration and testing to ensure that the performance of each sensor meets its specifications.
Calibration process: 330780-50-00 The manufacturer will calibrate the sensitivity of the sensor using standard measuring equipment and methods. This usually involves measuring the output of the sensor under different conditions, such as at different temperatures, pressures, and displacements.
Error calculation: During calibration, the manufacturer records the actual output value of each sensor and compares it with the theoretical value. They then calculate the difference between these two values, known as the error. This error is expressed as a percentage to make it easier to compare the performance of different sensors.
Statistics and specifications: Manufacturers collect calibration data for a large number of sensors and perform statistical analysis. Based on this data, they determine maximum and minimum error ranges for sensitivity. In this example, the sensitivity error is determined to be ±7.5%, which means that under normal conditions of use, the sensitivity value of the sensor may be 7.5% higher or lower than its nominal value.
Quality control: Finally, manufacturers implement quality control measures to ensure that only sensors that meet the specifications are sold out of the factory. This may include recalibrating sensors that do not meet requirements, or in

Copyright © 2022-2024 厦门雄霸电子商务有限公司 版权所有 备案号:闽ICP备14012685号-33